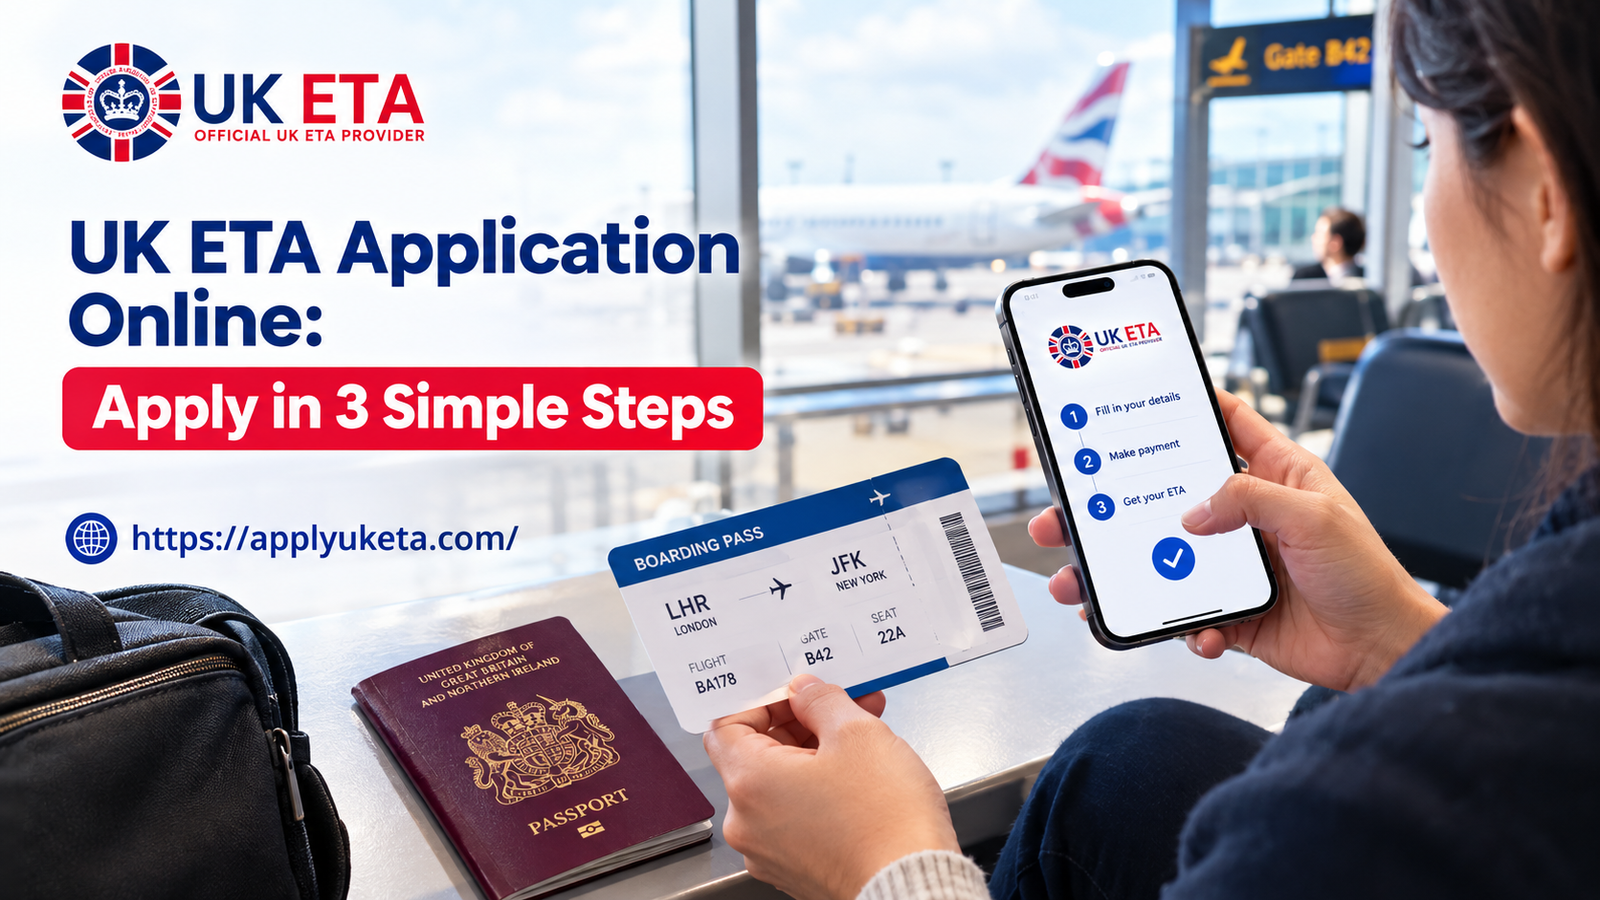
If you’re planning a trip to the UK and you don’t need a visa for short visits, you probably still need one thing before you fly: a UK Electronic Travel Authorisation, or ETA. It’s not a visa, but it works a bit like one. Without it, you won’t be allowed to board your flight or ferry to the UK.
The good news is that applying for a UK ETA is genuinely simple once you know what to expect. This guide walks you through exactly what it is, who needs one, and how to apply in three steps, plus the mistakes that trip people up and cost them time (or money) they didn’t need to lose.
Official UK ETA Portal: https://application.applyuketa.com/
What is a UK ETA, exactly?
A UK ETA is a digital travel permission linked to your passport. It lets you enter the UK for short stays, typically for tourism, visiting family, business meetings, or academic visits, without needing a full visa. Once approved, it’s valid for multiple trips over a two-year period, or until your passport expires, whichever comes first.
Think of it as similar to the US ESTA or Canada’s eTA. You apply online before you travel, get an answer (usually within minutes), and then you’re clear to fly.
It’s important to understand that an ETA is not the same as a visa. It doesn’t guarantee entry into the UK. Border officers still make the final call when you arrive. What it does is confirm, in advance, that you’re cleared to travel and don’t pose an obvious risk.
Who actually needs a UK ETA?
This is where a lot of people get confused, so let’s clear it up.
You need a UK ETA if you’re a non-visa national visiting the UK for up to six months for things like tourism, seeing family or friends, short-term business trips, or academic visits, and you don’t already hold UK immigration status. Depending on your visit purpose, whether that’s tourism or visiting family and friends or work, academic visits, or business, the ETA covers you either way as long as it’s a short stay.
British and Irish citizens, including dual citizens, do not need an ETA. If you already hold a UK visa or another form of UK immigration status, you also don’t need one. And if you’re just transiting through certain UK airports without going through passport control, you may be exempt too, though it’s worth double-checking your specific airport and airline before assuming this applies to you.
If you’re unsure which category you fall into, it’s better to check before booking flights than to find out at the check-in counter that you can’t board.
Step 1: Gather what you need before you start
Most delays or rejections happen because people rush into the application without having everything ready. Before you open the form, have these on hand:
Your passport, the same one you’ll actually be traveling with. This matters more than people realize. If your passport expires or you renew it after getting your ETA, you’ll need a new one tied to your new passport, since the ETA is linked to the specific document.
A digital photo that meets the requirements. This usually means a clear, front-facing photo with a neutral expression, good lighting, and no hat, sunglasses, or filters. A blurry selfie or a photo with shadows across your face is one of the most common reasons applications get flagged for manual review, which slows things down.
Basic personal and travel details, including your address, contact information, and general travel plans.
Honest answers to the suitability and background questions. These typically cover things like past criminal convictions or immigration violations. Answer truthfully. Inconsistencies here are treated far more seriously than the answer itself.
A debit or credit card for the application fee.
Having all of this ready before you start means you can usually finish the actual application in under ten minutes.
Step 2: Complete and submit your application online
Once you have your documents and photo ready, the application itself is straightforward. You’ll fill in your passport details exactly as they appear on the document, upload your photo, answer the eligibility and background questions, and submit payment.
A few practical tips here that aren’t always obvious:
Double-check your passport number and expiry date before submitting. A single typo can cause a mismatch that delays your approval or, worse, gets flagged during travel.
Apply well before your trip. Most applicants get a decision within minutes, but the official guidance recommends applying at least three working days ahead of travel in case your application needs additional review. If you’re applying the night before a flight, you’re cutting it closer than necessary.
Only apply once. If you don’t hear back right away, resist the urge to submit a second application. Duplicate applications can create confusion in the system and actually slow down processing rather than speed it up.
Step 3: Wait for approval and travel with confidence
Once submitted, most applicants receive an automatic decision within minutes. If your application needs extra review, it can take longer, which is exactly why applying early matters.
You’ll get notification of your approval, and that’s it. You don’t need to print anything or carry a physical document. Your ETA is electronically linked to your passport, so when you arrive in the UK, the passport you traveled with is checked against the system automatically.
One thing worth repeating: keep using the same passport you applied with. If it’s lost, stolen, or replaced before your trip, your ETA won’t transfer automatically, and you’ll need to reapply.
Common mistakes that cause delays or rejections
A few patterns show up again and again with ETA applications, and most are easy to avoid once you know about them.
Applying with the wrong passport, or applying and then renewing your passport before travel, is probably the single biggest cause of headaches. The ETA is tied to the document, not the person, so mismatches cause real problems at the border.
Uploading a poor-quality photo is another frequent issue. If your photo doesn’t clearly show your face, has inconsistent lighting, or includes accessories like glasses with glare, it can trigger a manual review or an outright rejection.
Rushing the eligibility questions is a mistake too. These aren’t a formality. Skimming through them and answering inaccurately, even by accident, can cause serious complications later, including at the border itself.
Waiting until the last minute is avoidable and unnecessary stress. Even though most approvals come quickly, giving yourself a few days of buffer means one unlucky review delay won’t derail your trip.
A quick real-world example
Say you’re planning a two-week family visit to London and you’re a non-visa national. You’d apply for the ETA under the tourism or visiting family and friends category, since that’s the actual purpose of your trip. If instead you were flying in for a short business conference, you’d apply under the work, academic visits, or business category. Picking the category that actually matches your trip matters, since it’s part of what you’re declaring in the application.
In both cases, the process itself is the same three steps. What changes is simply which purpose you select and what you should have ready to support that purpose if asked.
Ready to apply?
If you’ve got your passport, a compliant photo, and a few minutes to spare, you’re ready to go. Start your UK ETA application online and pick the category that matches your trip. Applying early, keeping your details accurate, and using the same passport you’ll travel with are really the three things that make the difference between a smooth approval and an unnecessary delay.
Safe travels.